blog · git · desktop · images · contact
Digitizing our old VHS tapes
2023-11-19
This was long overdue.
We still have some VHS tapes lying around. Some of them are TV recordings and thus quite uninteresting, but others are family videos that I’d like to preserve. VHS players are dying out, as are TV cards for PCs – or maybe it’s already too late and I just happened to still own the necessary hardware. Either way, it’s about time to turn these tapes into digital files.
The hardware
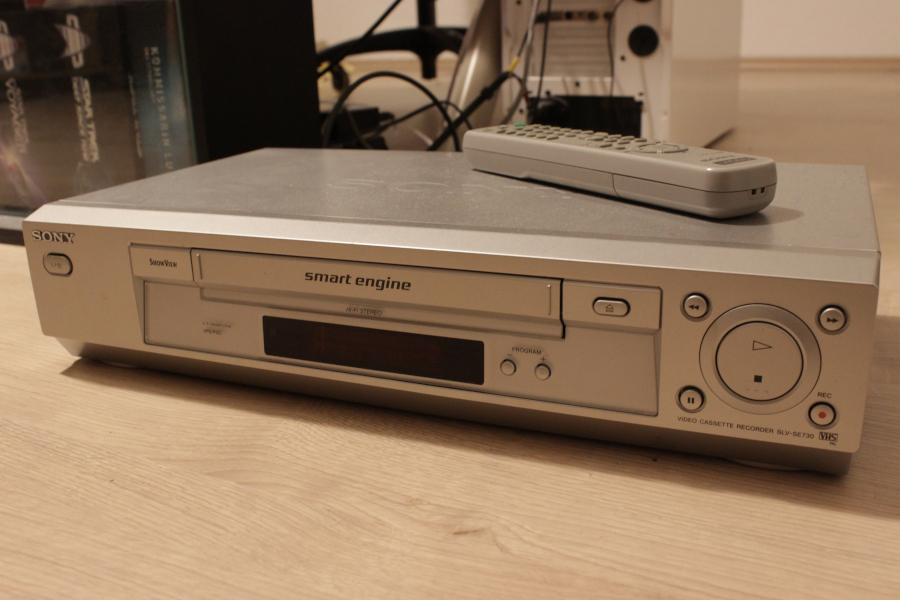
Step 1, you need a VHS player. I borrowed this relatively new device from a family member, should be around 20 years old now (could have been much older):
Step 2, you need a TV card for your PC or a USB stick or similar. I have one with a bt878 chip from around 1998:
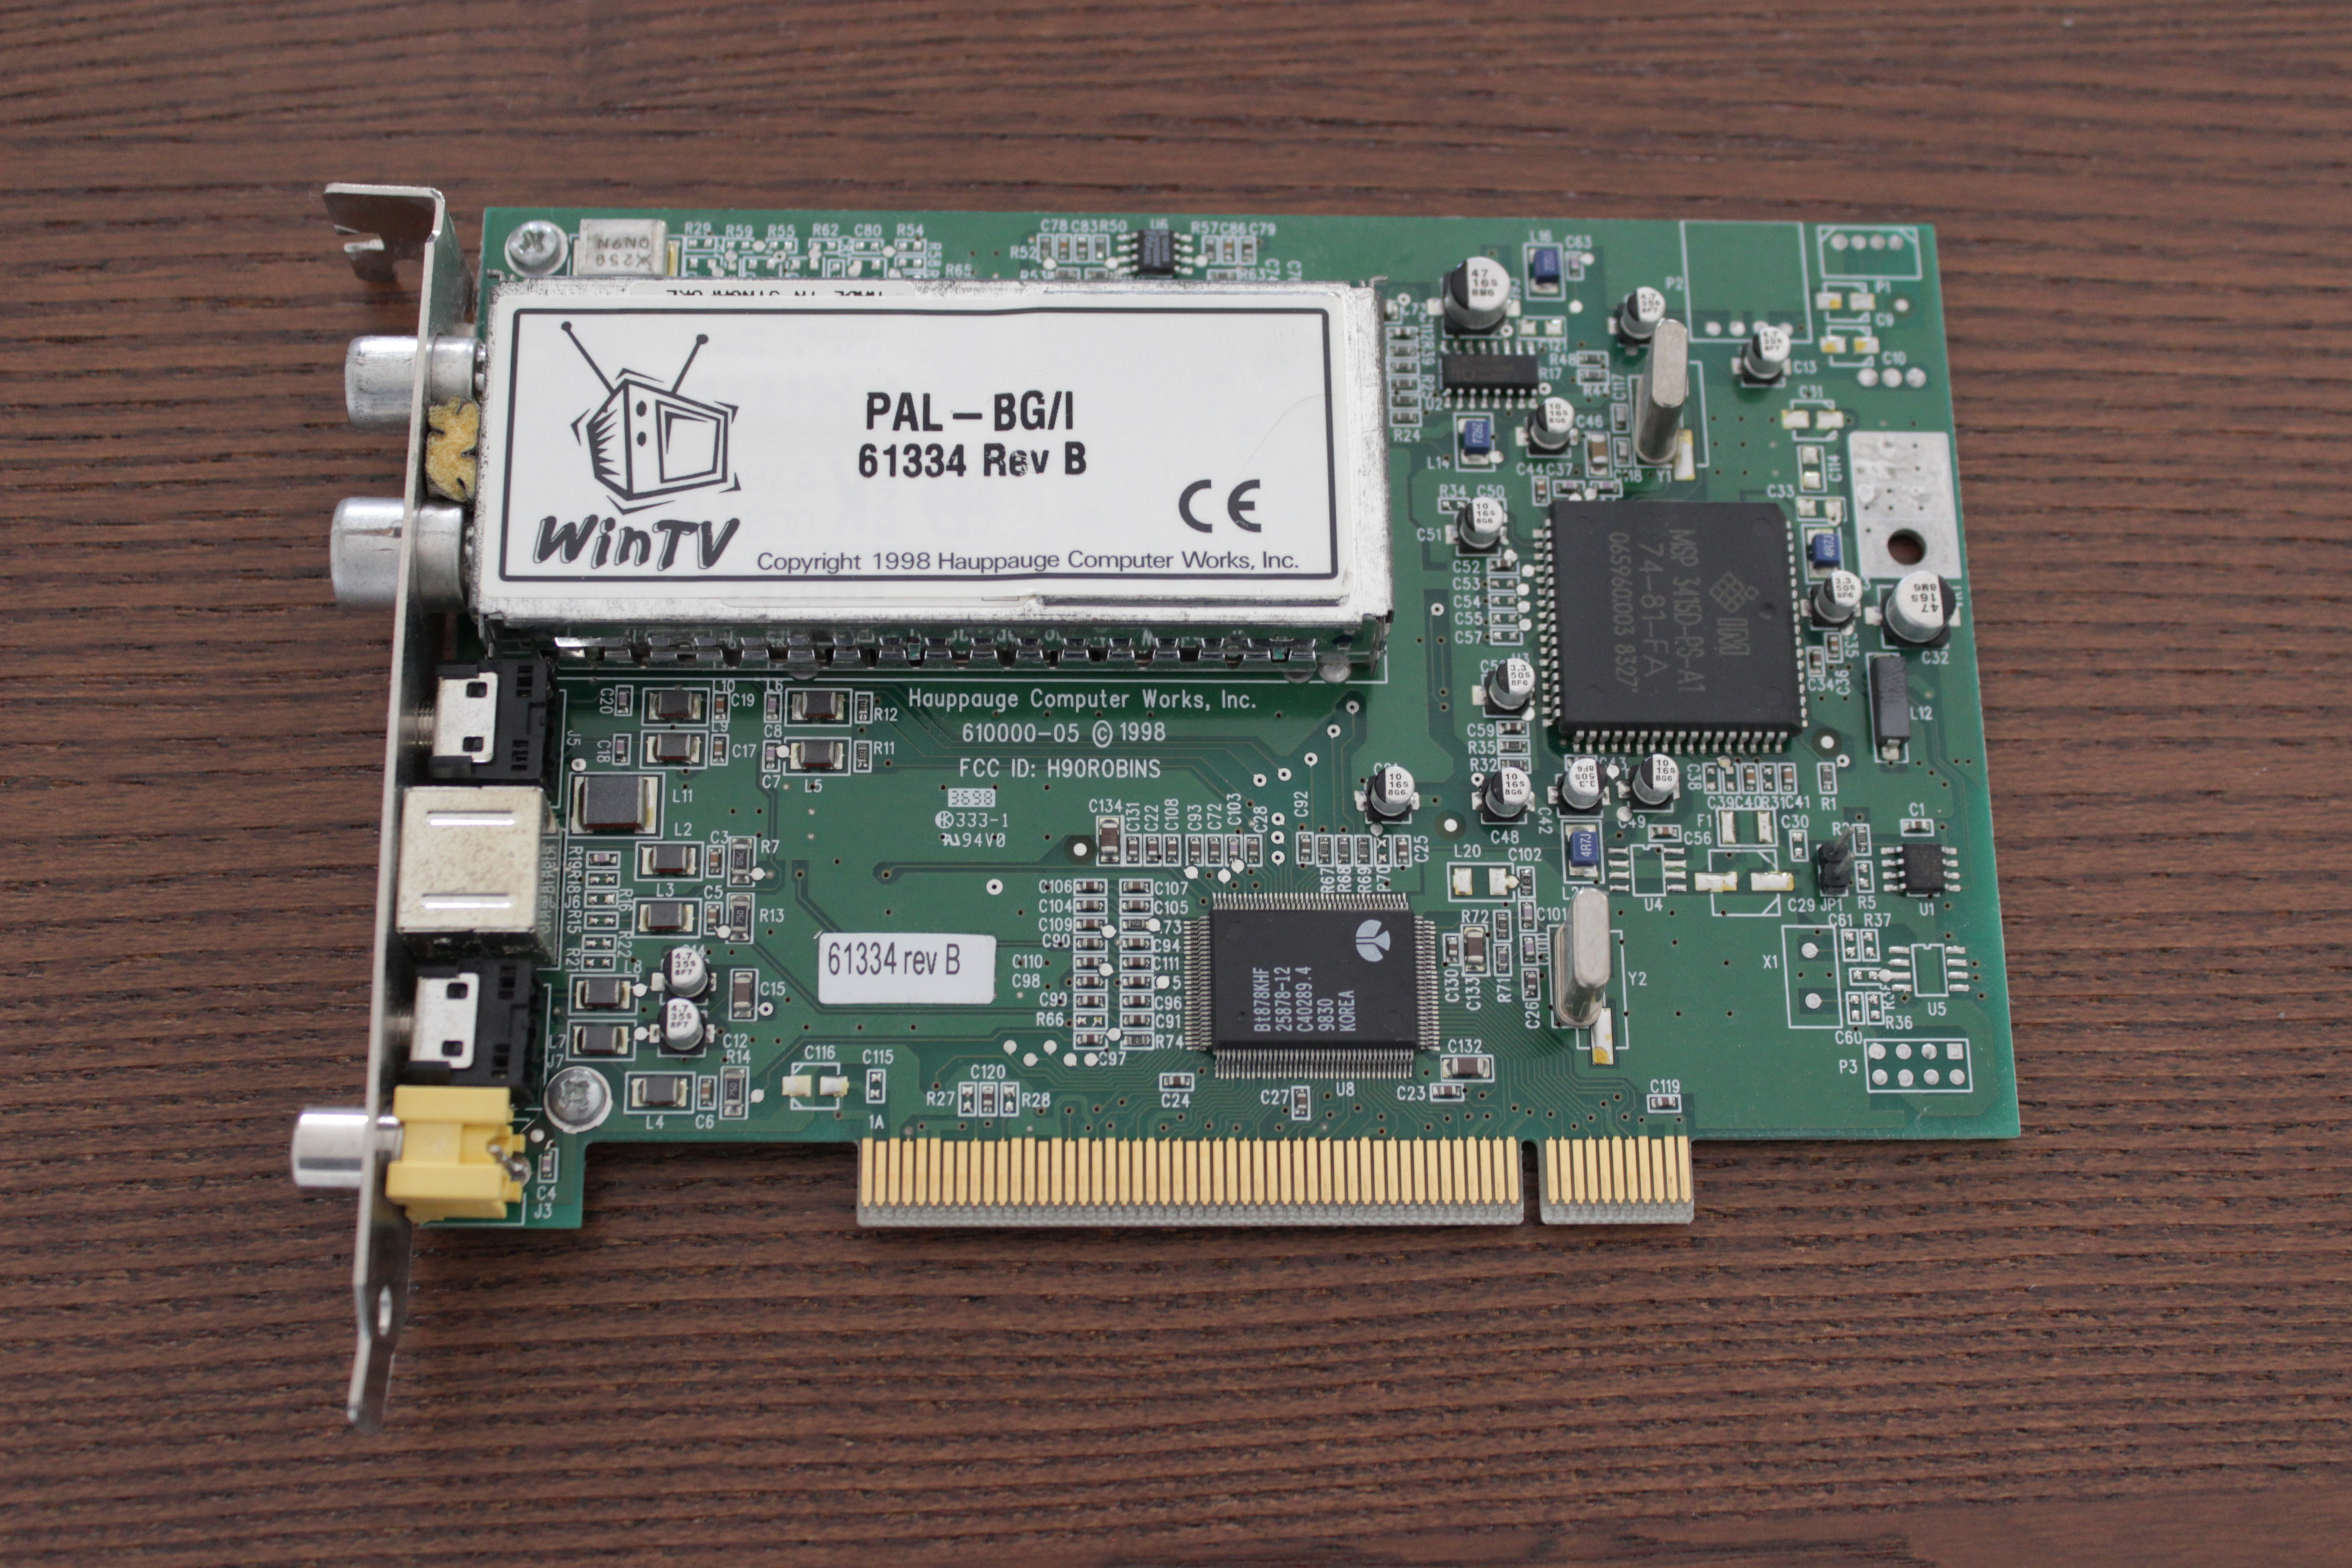
I didn’t get it in ’98 but some time later. I used this card around the year 2005 to record TV shows. That was really great back then and way ahead of its time. VHS tapes were still what most people used (at least where I lived), so being able to record TV stuff on a PC was just brilliant.
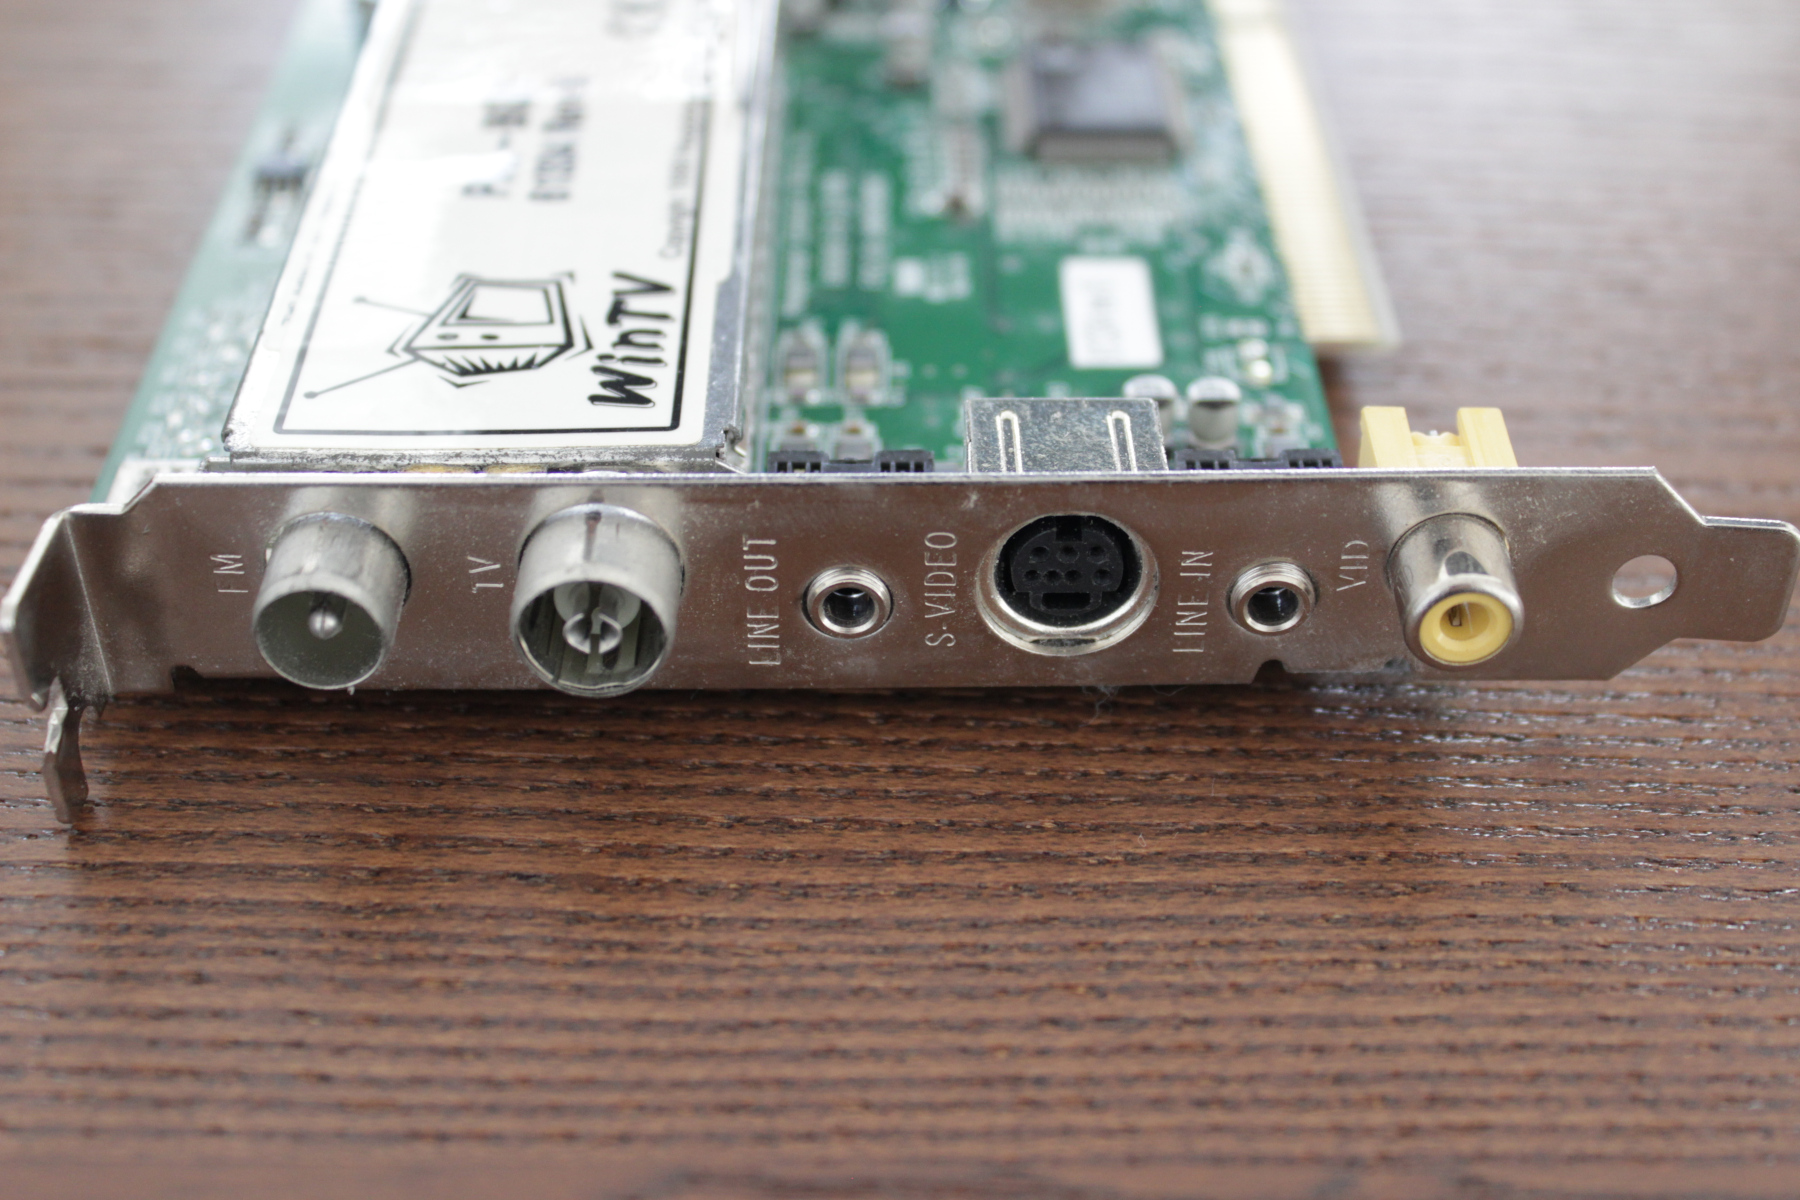
And now comes the tricky part. How to connect these two? I didn’t want to buy new adapters just for this project. I had to use what was still around.
For the video signal, I started with the SCART connector, the big black clunky thing:

I didn’t have the proper adapter to use S-Video and had to go with Composite instead:
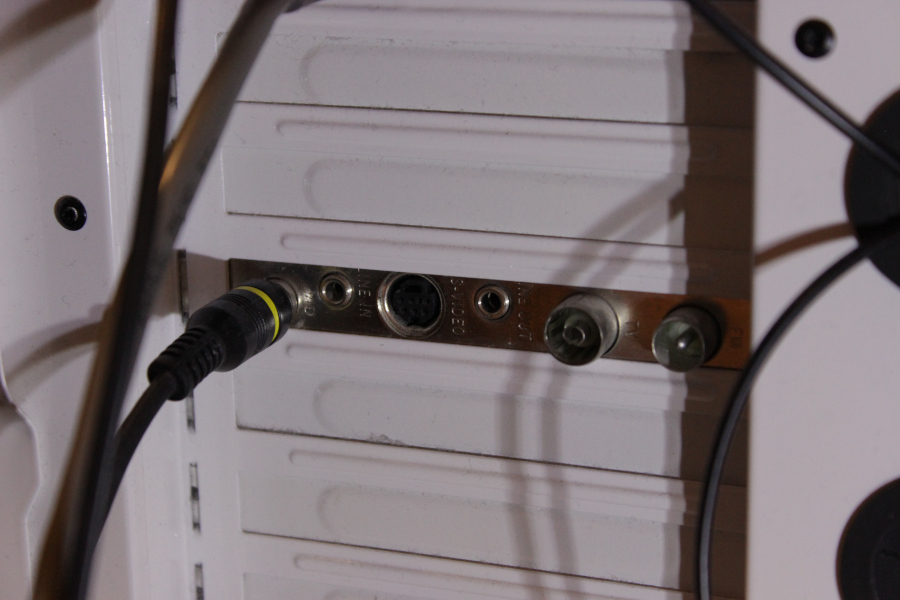
For audio, I had to start with the two stereo Cinch connectors and then switch over to a 3.5 mm audio jack:
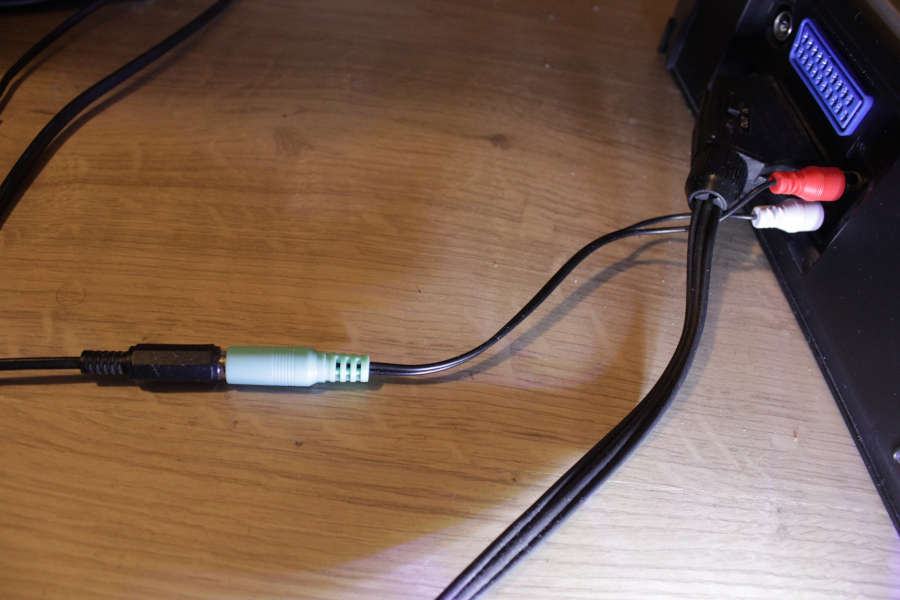
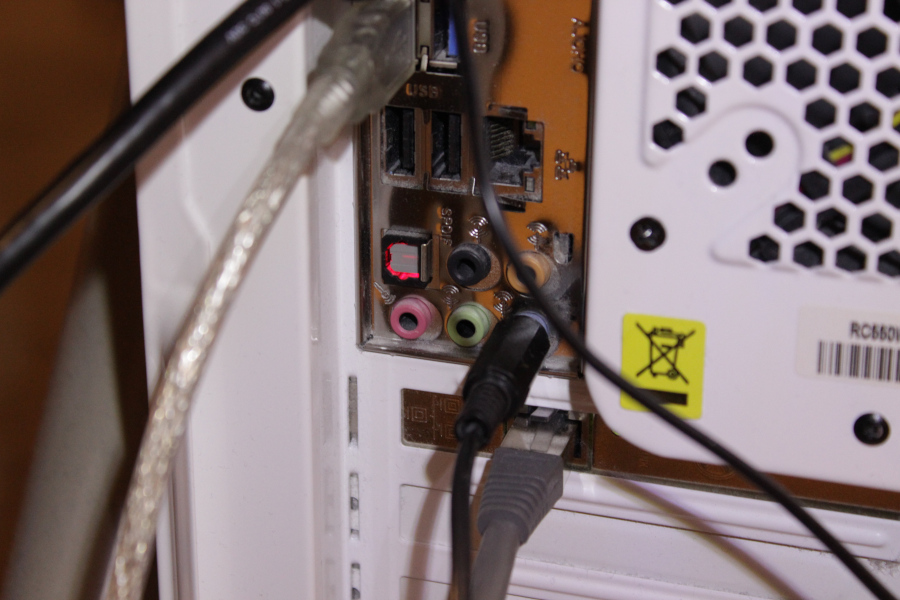
Note that this connects to my on-board audio device, not the TV card, because I couldn’t manage to get any audio from it when using Composite.
This is not the greatest solution, “but it works”.
(I first went with the analogue TV’s coax cable and eventually even
found the correct frequency to tune in – v4l2-ctl -f 591.25 –, but it
was too finnicky and the quality was even worse.)
The software
The good thing about my TV card is that Linux includes drivers for it. There’s nothing I need to do to make it work.
Some configuration steps:
# Selecting the Composite input:
v4l2-ctl -i 1

# Setting the desired resolution:
v4l2-ctl -v width=768,height=576

# Check that the above worked and that it shows that it’s got a
# signal lock:
v4l2-ctl -I
v4l2-ctl -V
I can then record a video using ffmpeg:
ffmpeg \
    -f pulse -i default \
    -f v4l2 -i /dev/v4l/by-path/... -vf yadif \
    -f avi -c:v mjpeg -q:v 3 -c:a flac foo-$(date +%s).avi
To my surprise, the drift/desync between audio and video isn’t noticeable, even when recording three hour long tapes. I expected worse here, since two different devices are involved. (Back in the day, when I used this TV card to record actual TV movies, I did so using mplayer and Linux’s OSS directly from the TV card’s audio device. That approach didn’t work anymore today.)
One thing to note is the yadif filter. The video signal is interlaced and I want to correct for that.
First results
I was happy to see that this worked at all.
Soon after, I noticed that the video files sometimes looked like this:
Lots of flickering and stuttering.
This only happened when using a resolution of 768x576, though. With 384x288, everything was fine. I then remembered that all my old video recordings were 384x288 as well. Hmm, was that on purpose? Did I not know better back then? Did I want to save space? No idea anymore.
It had nothing to do with Composite and happened on the coax port as well.
Since it worked with a lower resolution, I suspected some kind of buffer
underrun. Not enough bandwidth? Something like that? ffmpeg didn’t
report any dropped frames. Was it a driver bug?
For these family videos, I didn’t want to accept that I had to use
384x288. That is a super low resolution these days. It took me a long
time until I found a “solution”: The kernel module paramter vcr_hack.
I have this in /etc/modprobe.d/bttv-mine.conf now:
options bttv vcr_hack=1
The description of this parameter reads as follows:
Enables the VCR hack (improves sync on poor VCR tapes)
There’s little info about this flag in the Linux docs, but I found this posting on the v4l mailing list:
The problem, as I understand it, is that the signal quality from VHS tapes can be poor enough that the capture card doesn't see all the lines. It ends up looking for the rest of the lines and instead "trips over" the start of the next frame. By the time it's recovered it's missed that frame. The `vcr_hack' option allows the driver to look for four fewer lines than should be there. This seems to fix the problem.
One side effect of this setting is that you get a couple of green lines at the bottom:
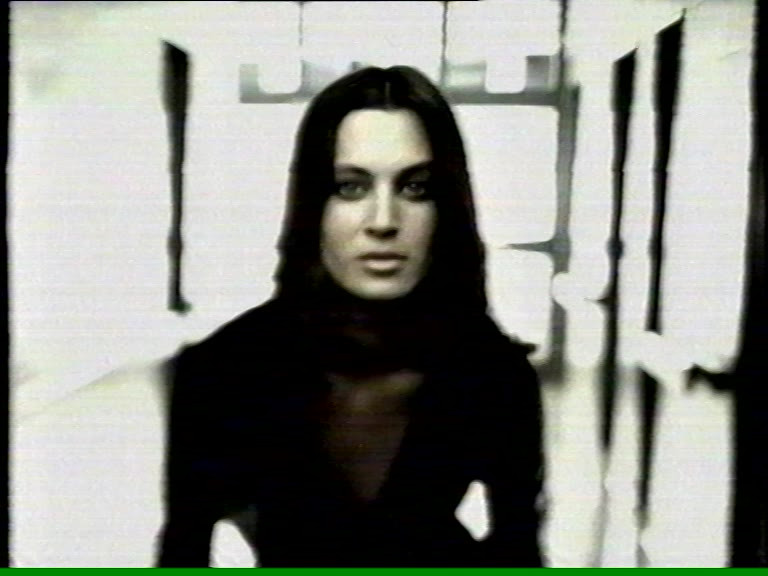
I vaguely remember seeing green lines back in 2005 as well and having to crop the video. At first, I thought that I might have already used that option back then, but then it dawned on me: Holy smokes, I was still using Windows at that time. Oh dear. Might explain the low resolution, too.
Either way, this green strip can be “fixed” in the final step.
Why .avi?
The recording process looks like this:
- Do the configuration steps.
- Start
ffmpeg. - Hit “Play” on the VHS player.
- Wait until …
… until what? Until the video is over. This either means waiting until
the end of the tape (which can be four hours long!) or until the film
ends – but how do you know? ffmpeg just stores a file and you don’t
see the actual video.
My workaround for this was to find a container format that allows
playing while the file is still being written to. That appears to be the
case for .avi. So, while this whole thing is running, I can check the
progress in another window.
Re-encoding for smaller files
The initial recording above uses MJPEG video and FLAC audio. Both of those have good quality, but these files are large. And we must get rid of the green stuff.
This appears to work fine:
#!/bin/sh

[ -z "$1" ] && { echo "Usage: $0 <inputfile>..." >&2; exit 1; }

video_bitrate=${video_bitrate:-2000k}

width=768
height=576
black_top=${black_top:-0}
black_bottom=${black_bottom:-7}

box=
if [ "$black_top" -gt 0 ]
then
    box="${box}drawbox=x=0:y=0:w=$width:h=$black_top:color=black@1.0:t=fill, "
fi
box="${box}drawbox=x=0:y=$((height - black_bottom)):w=$width:h=$black_bottom:color=black@1.0:t=fill"

for i
do
    nice -n 19 ffmpeg -i "$i" -vcodec libx264 -vprofile high -preset slow \
        -b:v "$video_bitrate" -maxrate "$video_bitrate" -bufsize 1000k \
        -threads 0 -acodec aac -b:a 128k -pix_fmt yuv420p \
        -filter_complex "$box" "$i.mp4"
done
This format appears to work on the devices of other family members as well.
The script above uses a drawbox filter to paint over the green areas. It’s configurable, because not all tapes showed equally large “broken” areas. Some needed painting-over on the top as well. It wasn’t all green but all kinds of artifacts.
It was too late for some tapes
Here’s the sad bit: Some tapes were degraded too much and couldn’t be played anymore. Some were unplayable altogether, others had dead or almost-dead areas in the middle.
Turns out, I was super lucky: I actually did record some of those tapes already. I had no memory of that. Or maybe it wasn’t even me, but someone else did and sent me the files? Not a clue. As it happens, those were exactly the tapes that can’t be read anymore today. Phew.
In any case, I should have done this project earlier.